Learn more


Are you concerned about potential leaks in your pool? Don't worry, we've got you covered! Introducing our comprehensive guide to mastering the dye test. With this step-by-step guide, you'll be able to identify and confirm any potential leaks in your pool, ensuring that it stays in top condition.
Step 1: Gather Your Materials
Before you start the dye test, make sure you have all the necessary materials. You'll need a small bottle of dye, preferably in a dark color like red or blue. Additionally, grab a pair of goggles and a snorkel if your pool is deep. Having these materials ready will ensure a smooth and efficient testing process.
Step 2: Identify Potential Leak Areas
Now it's time to look for signs of potential leaks in your pool. Keep an eye out for cracks in the pool shell, loose tiles, or any areas around fittings such as lights and return jets that could indicate a leak. Identifying these areas will help you focus your dye test and pinpoint the source of the leak more accurately. Learn more about common signs of a pool leak.
Step 3: Dive In
Put on your goggles and snorkel, and dive into the pool. It's important to move slowly and avoid creating water currents that could disrupt the dye. Take your time and ensure that you have a clear view of the suspected leak areas.
Step 4: Apply the Dye
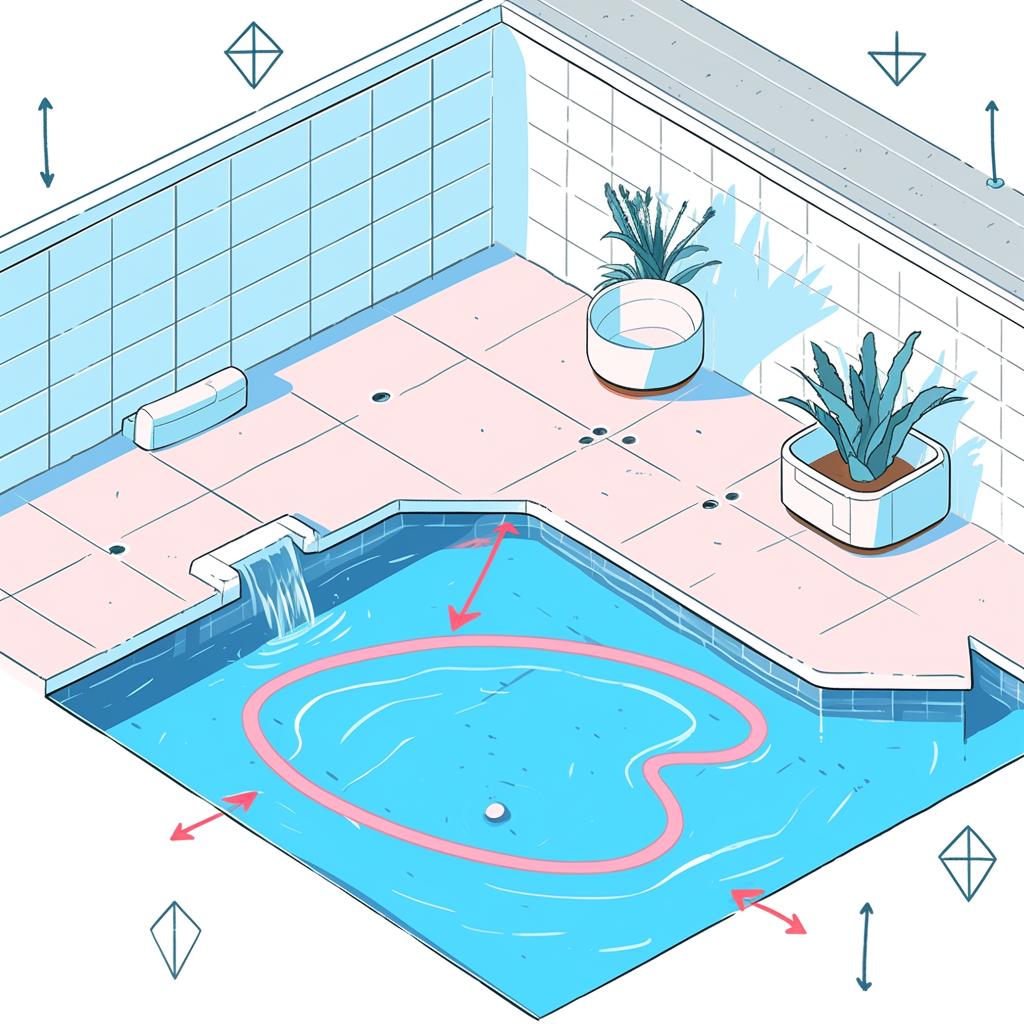
Once you're close to a suspected leak area, gently squeeze the dye bottle to release a small amount of dye. Observe closely to see if the dye is sucked into any cracks or seams, indicating a leak. This step requires patience and attention to detail, so take your time to ensure accurate results. Learn more about the bucket test for pool leak detection.
Step 5: Repeat and Confirm
Repeat the dye test for all potential leak areas in your pool. If the dye consistently gets drawn towards a certain area, it's likely that you've found the source of the leak. Confirm your findings by repeating the test multiple times to ensure accuracy. Learn more about DIY pool leak detection with the bucket test.
By following these steps, you'll be able to effectively identify and confirm any potential leaks in your pool. Remember, regular maintenance and inspections are crucial for keeping your pool in top condition. If you need professional assistance or further guidance, don't hesitate to reach out to Aquatic Inspections. We're here to help you maintain a beautiful and leak-free pool all year round.
So, what are you waiting for? Dive into our comprehensive guide and master the dye test today!
All Rights Reserved © 2024
